I’ll bet you never did anything as a kid that was a complete waste of time, but was satisfying and fun. Let’s face it! One of the perks of being a kid is putting hours and hours into a focused activity that may have no practical purpose. Maybe you and your friends dug a hole at the beach one day to see how deep you could dig? Or maybe you’re like me, and you spent an entire afternoon at school forming a ball of aluminum foil that was in your lunchbox into a compressed cube.
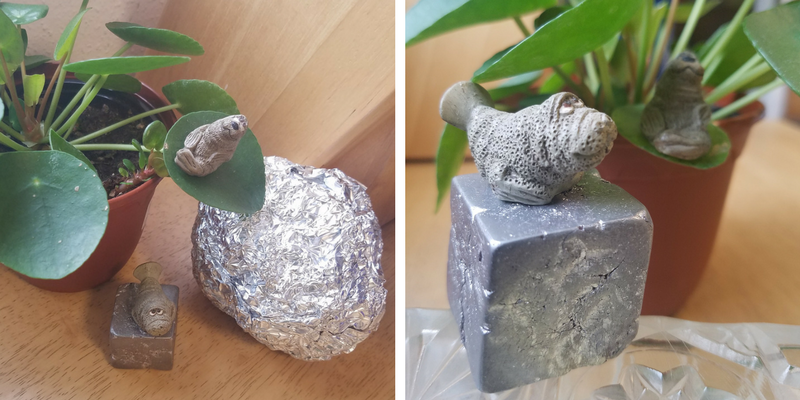
Forming aluminum foil into a polished piece makes a shiny display for miniature gardens or alongside houseplants. Let’s get sculpting!
What You Need:

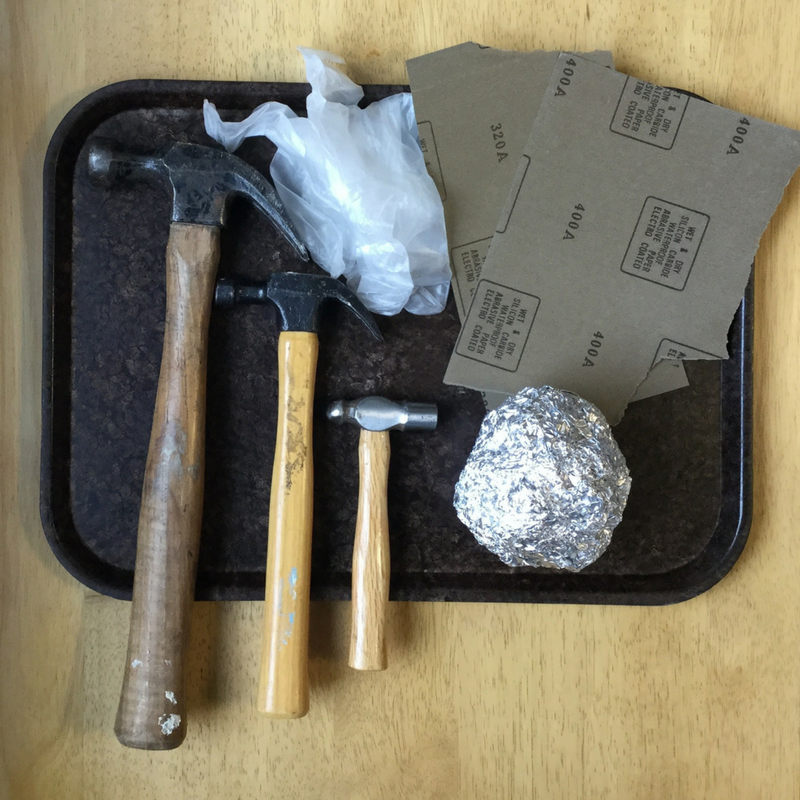
- Aluminum Foil
- Hammer
- Gloves
- Dust Mask
- Sandpaper
(assorted grits)
- Polishing Cloth
Directions
Step 1
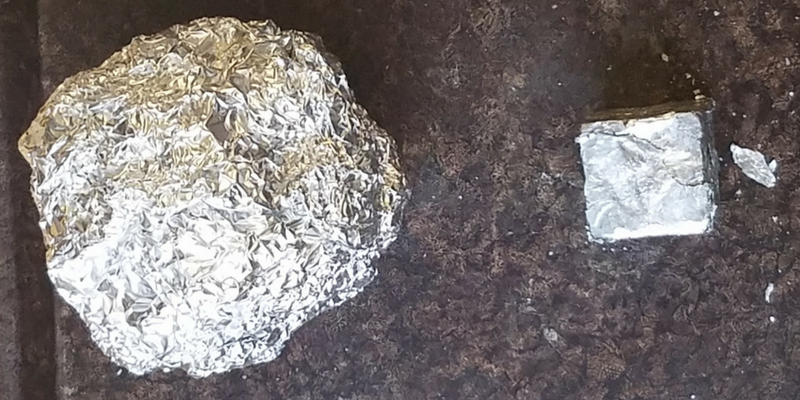
For the size of my cube (final size about 1.25-inches) measure a 9-foot long piece of aluminum foil, and crumple it into a ball with your hands.
Step 2
Using a hammer, hit the aluminum foil ball repeatedly to form the rough shape of a cube. Rotate the cube often, hitting on the opposite side and assessing the shape frequently.
Step 3
If you have more than one hammer available, you can size down to a smaller hammer as the aluminum foil compresses. A smaller hammer is easier for making fine-tuned changes to the shape and won’t tire your arm as much.
Tamawi’s Tip: Your aluminum foil will compress faster if you use a metal surface or anvil below. I have a stainless steel scrap piece I used.
Step 4
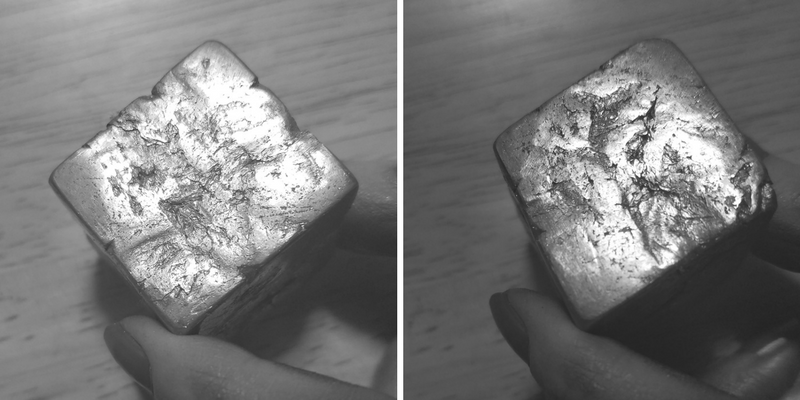
The surface of the cube will start to appear like a solid piece of metal. After many blows with the hammer, the creases will blend and flatten so that only some pits and wrinkles remain visible. This is when you should put on gloves, a dust mask and start sanding the surface with the roughest grit sandpaper.

Step 5
Sand the entire surface with each grade of sandpaper, and then move to the next finest grit. Your aim is to smooth pitted areas as much as possible.
Step 6
Use the back of a spoon to burnish the entire surface. (Thanks to my friend Casey for this tip.)
Step 7
Use a polishing cloth to give your cube the final finishing touch. It’s possible to achieve a mirror finish, if you’re willing to spend enough time on each step of this process.

Explanation
Sometimes activities like these are viewed as “a waste”, but I beg to differ. In this activity you’ll gain skills in using tools. You see what happens when you apply force and compress an object. If you choose to make a cube, rather than a sphere, then you’ll familiarize yourself with the traits of a cube (six square sides, 12 equal edges, four corners). Plus, you’ll find out firsthand how the density of something changes when it’s compressed.
Did You Know Aluminum:
- Resists corrosion?
- Is not magnetic?
- Has a low density?
- Used to be one of the most expensive metals? Although it’s abundant in the earth’s crust, it’s not pure because the metal is usually bonded to other elements. Electrochemistry (aluminum electrolysis) made the mass production of aluminum a possibility in the early 1880s.

Did you get a mirror finish on your aluminum foil? Did you choose to make a sphere or cube? Share your tips and tricks in the comments.
Looking for more projects to try?


I was curious about how you make a sphere.
Hi Unc Bob, the steps are very similar. I would recommend using something with a hole in the middle, such as a weight lifting plate, as a hammering base. This will prevent the bottom from flattening as you rotate and hit from every possible angle.